Creating an Administrator
| When an administrator is created, the associated password is not set. Setting the password is mandatory to be able to consume the administrator account with password authentication. |
|
Administrators can be declared:
|
Creating an Administrator Manually
Step 1: Access the OCSPd Web Management Console;
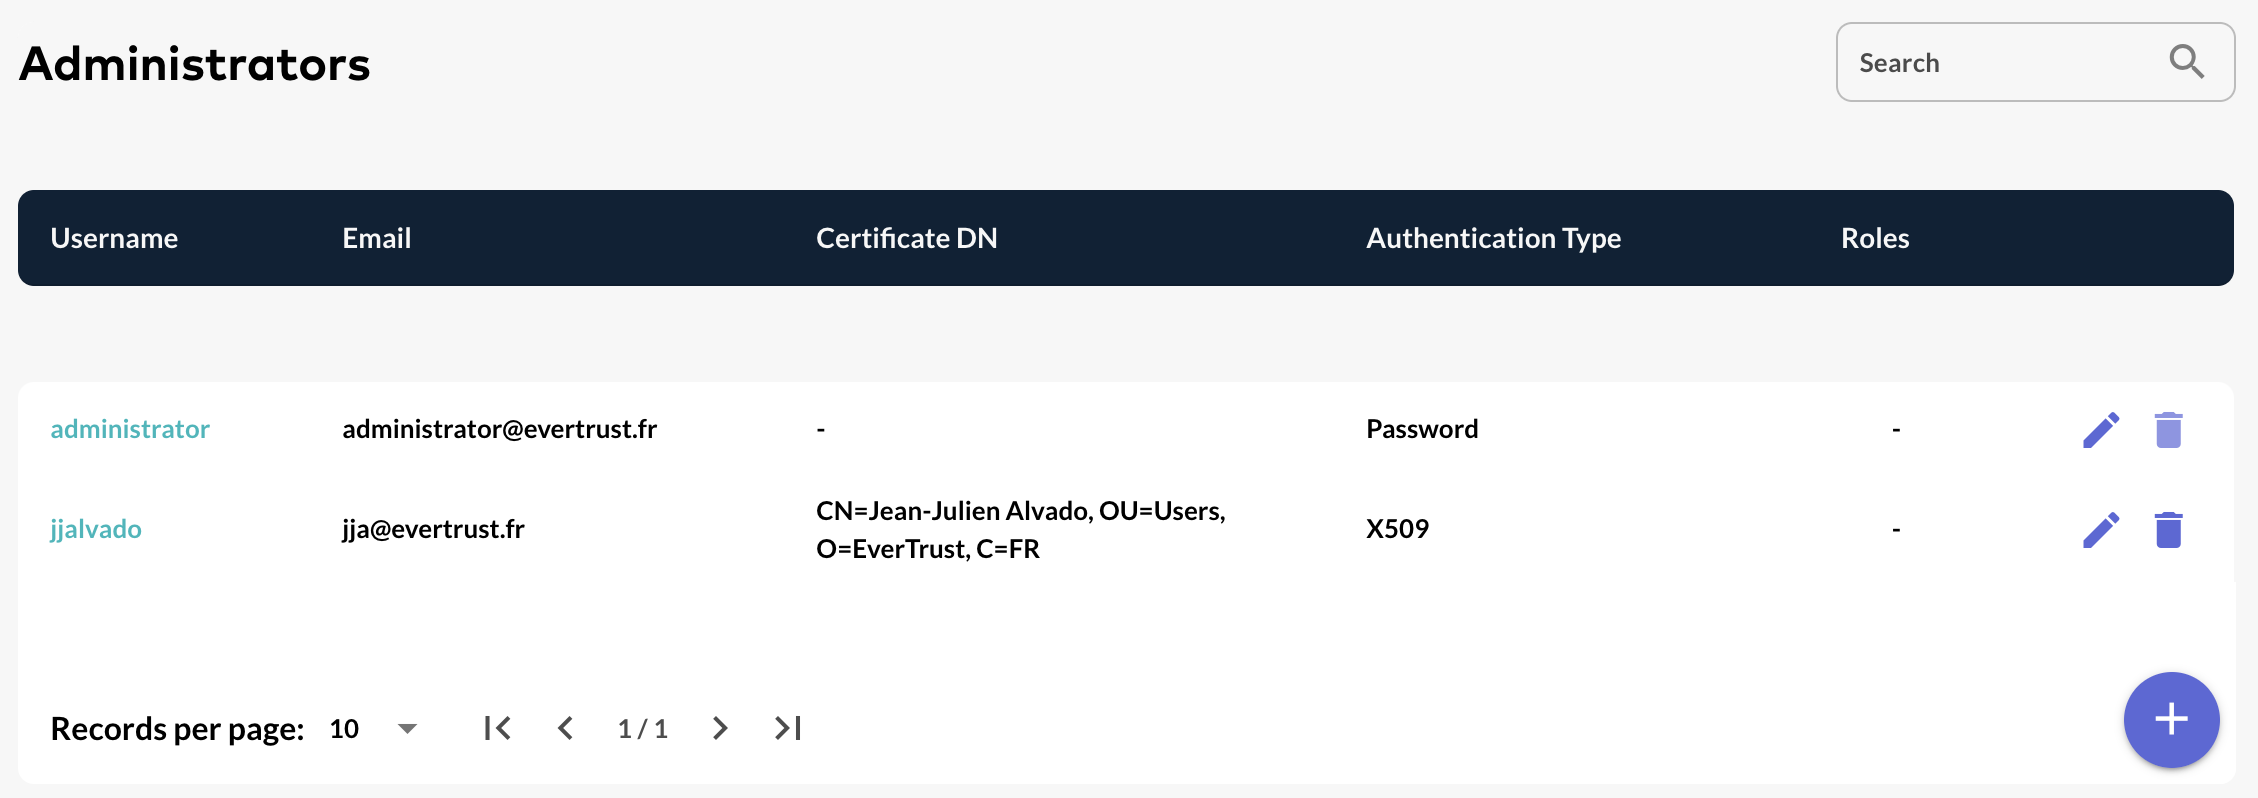
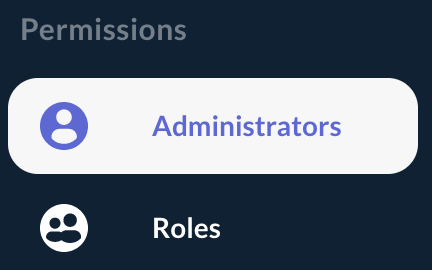
Step 2: In the 'Permissions' left menu, select 'Administrators':
Step 3: In the Administrators page, hit the '+' button at the bottom right of the table:

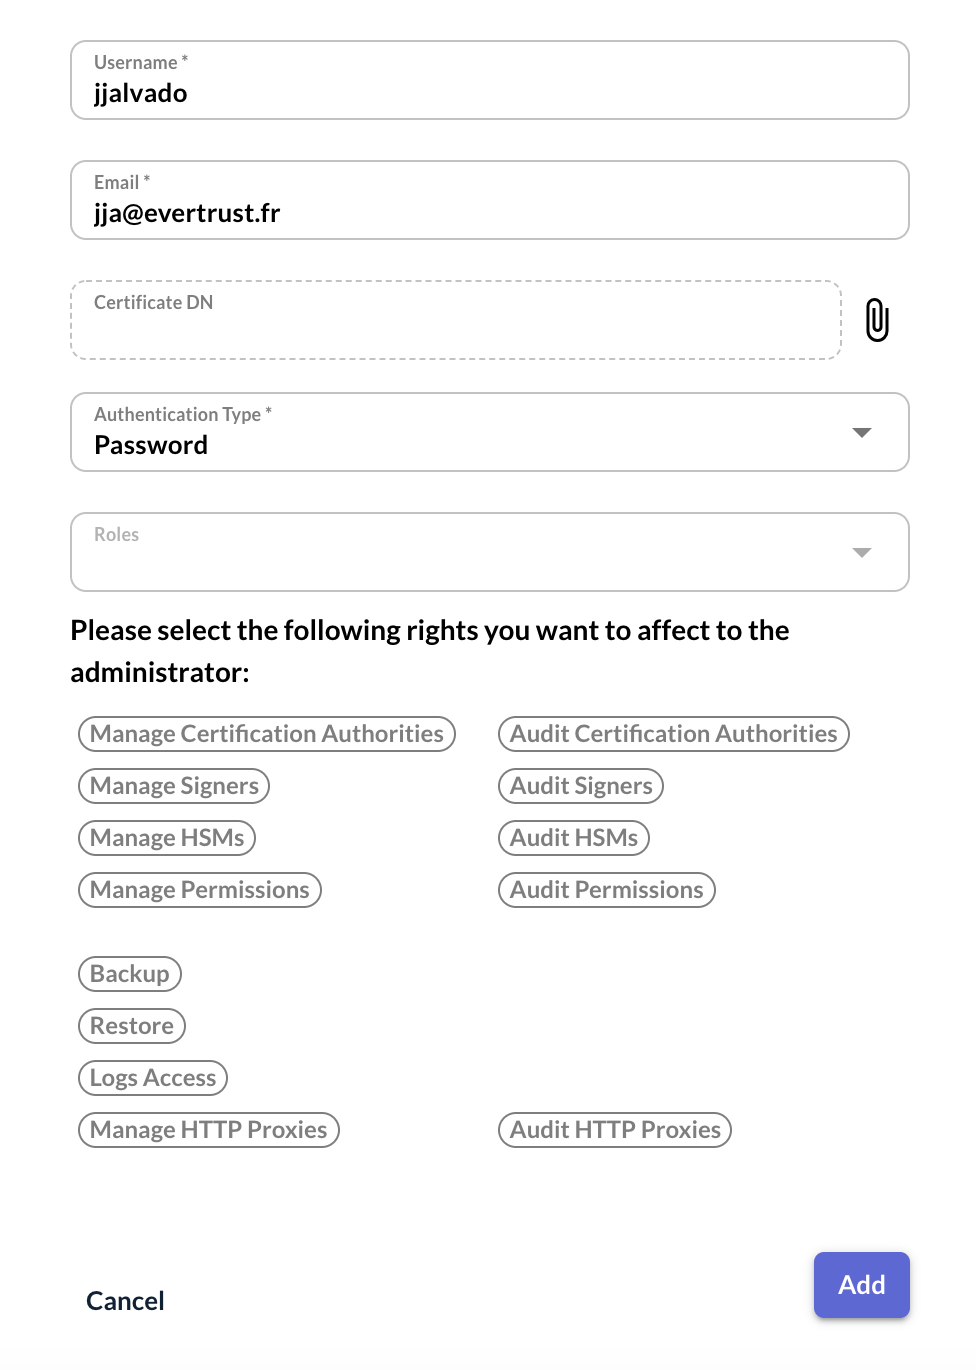
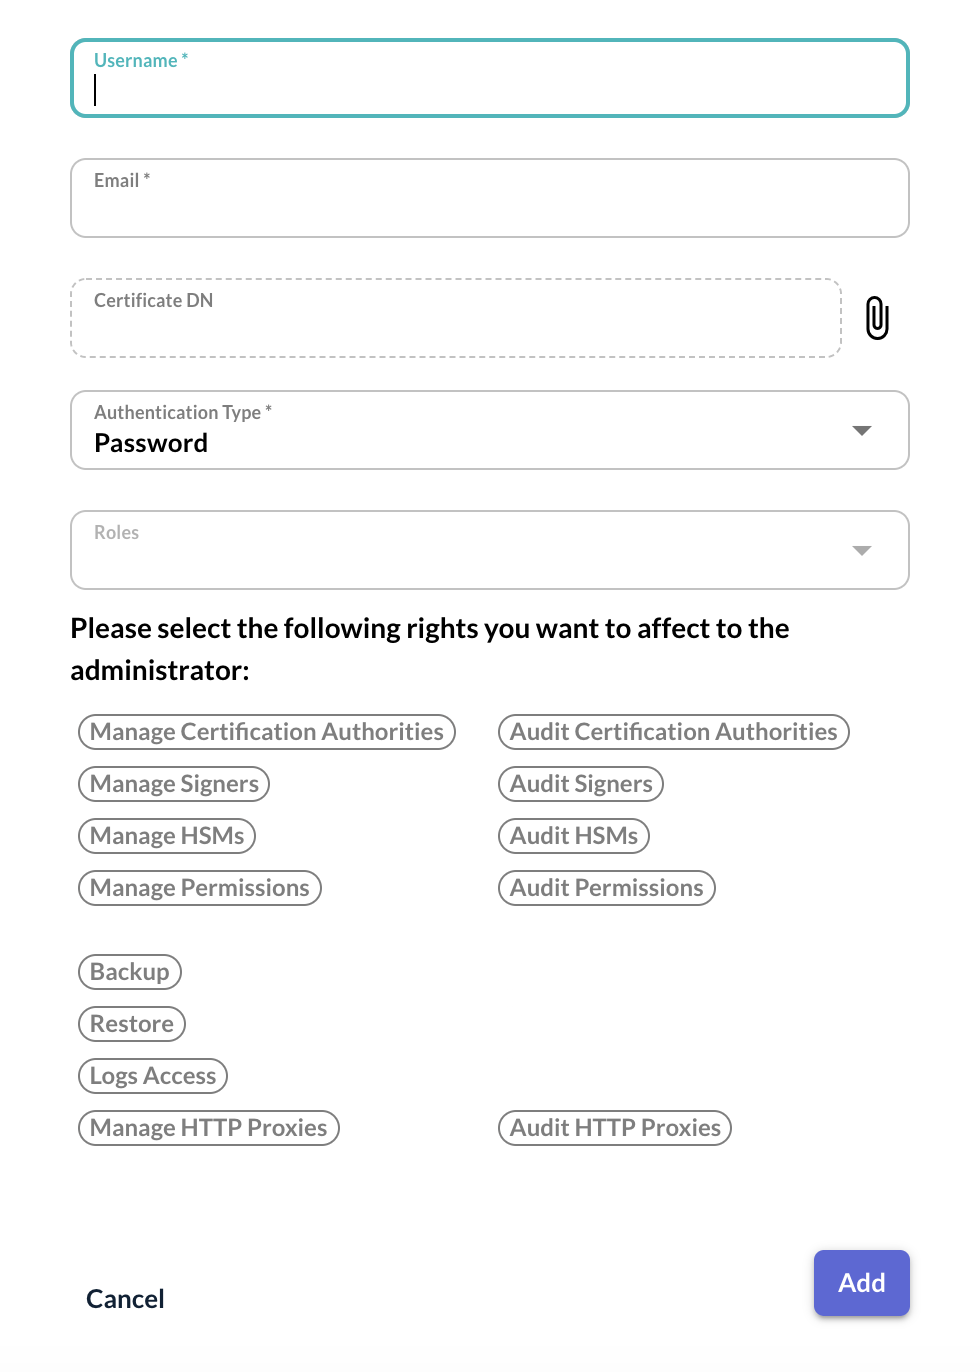
Step 4: Specify the following elements and hit the 'Add' button:
-
'Username': this is the username used to login on the Web Management Console;
-
'Email': email of the administrator. For now, this field is not used, but in an upcoming version, it will be used to allow password reset;
-
'Certificate DN' (optional): this allow to map the administrator account to a certificate DN when performing certificate-based authentication;
-
'Authentication Type': for now, OCSPd supports Password, Radius, LDAP and Certificate based authentication (X509);
-
'Roles' (optional and multiple select): role(s) given to the administrator;
-
'Permissions' (click on each right to select it): right(s) of manage/audit each module and perform system tasks given to the administrator.
| Radius and LDAP authentication methods are available after configuring the dedicated servers on OCSPd. For more information about Radius and LDAP server’s configuration, please refer to the 'OCSPd Installation Guide'. |
| The issuing CA of the LDAP certificate has to be declared in the OCSPd if you want to use the LDAPS authentication. |
| 'Manage' right is a 'read and modify' right. 'Audit' is a 'read-only' right. |
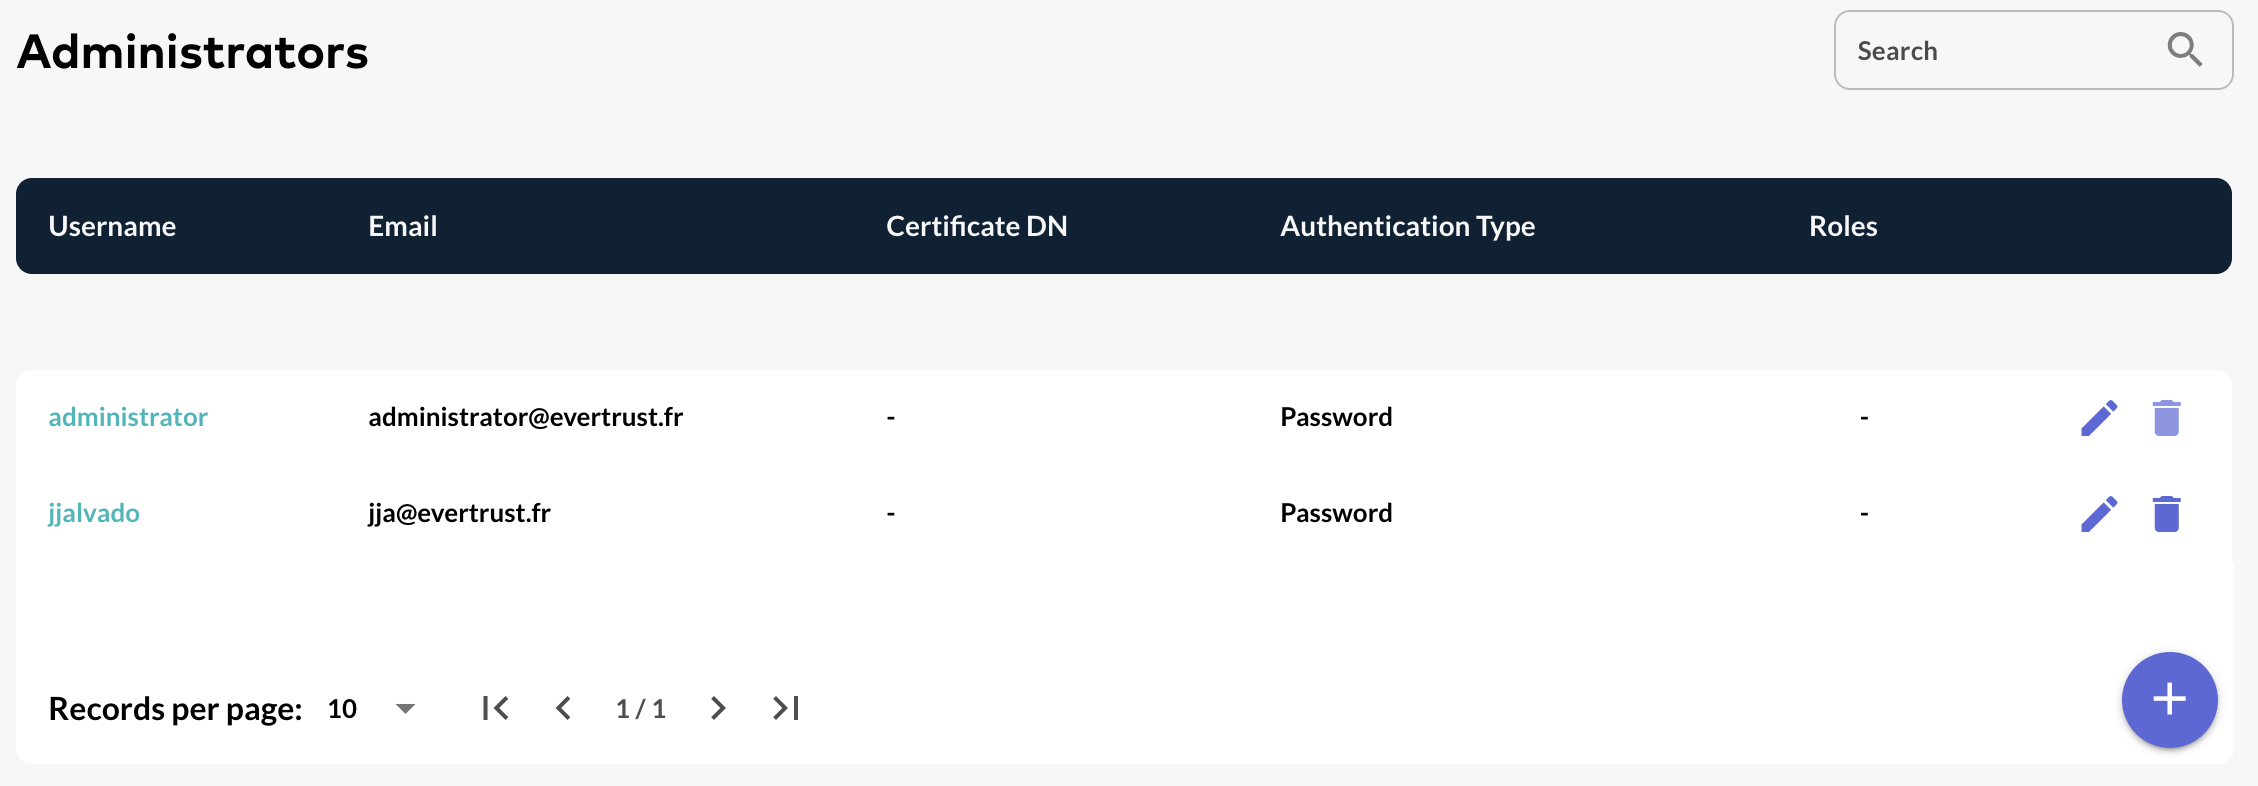
Step 5: The Administrator is successfully created:

Creating an Administrator using a Certificate
Step 1: Access the OCSPd Web Management Console;
Step 2: In the 'Permissions' left menu, select 'Administrators':
Step 3: In the Administrators page, hit the '+' button at the bottom of the page:
Step 4: In the popup, hit the ![]() button:
button:
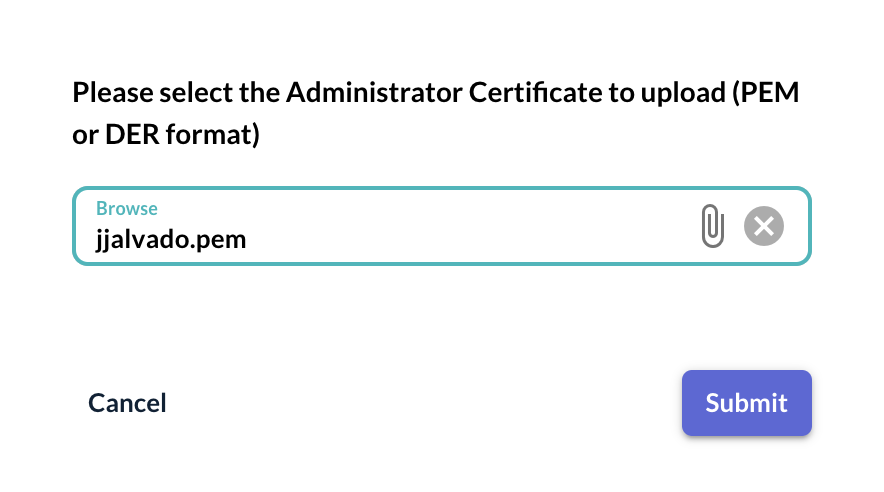
Step 5: Specify the certificate to load (PEM or DER) and hit the 'Submit' button:
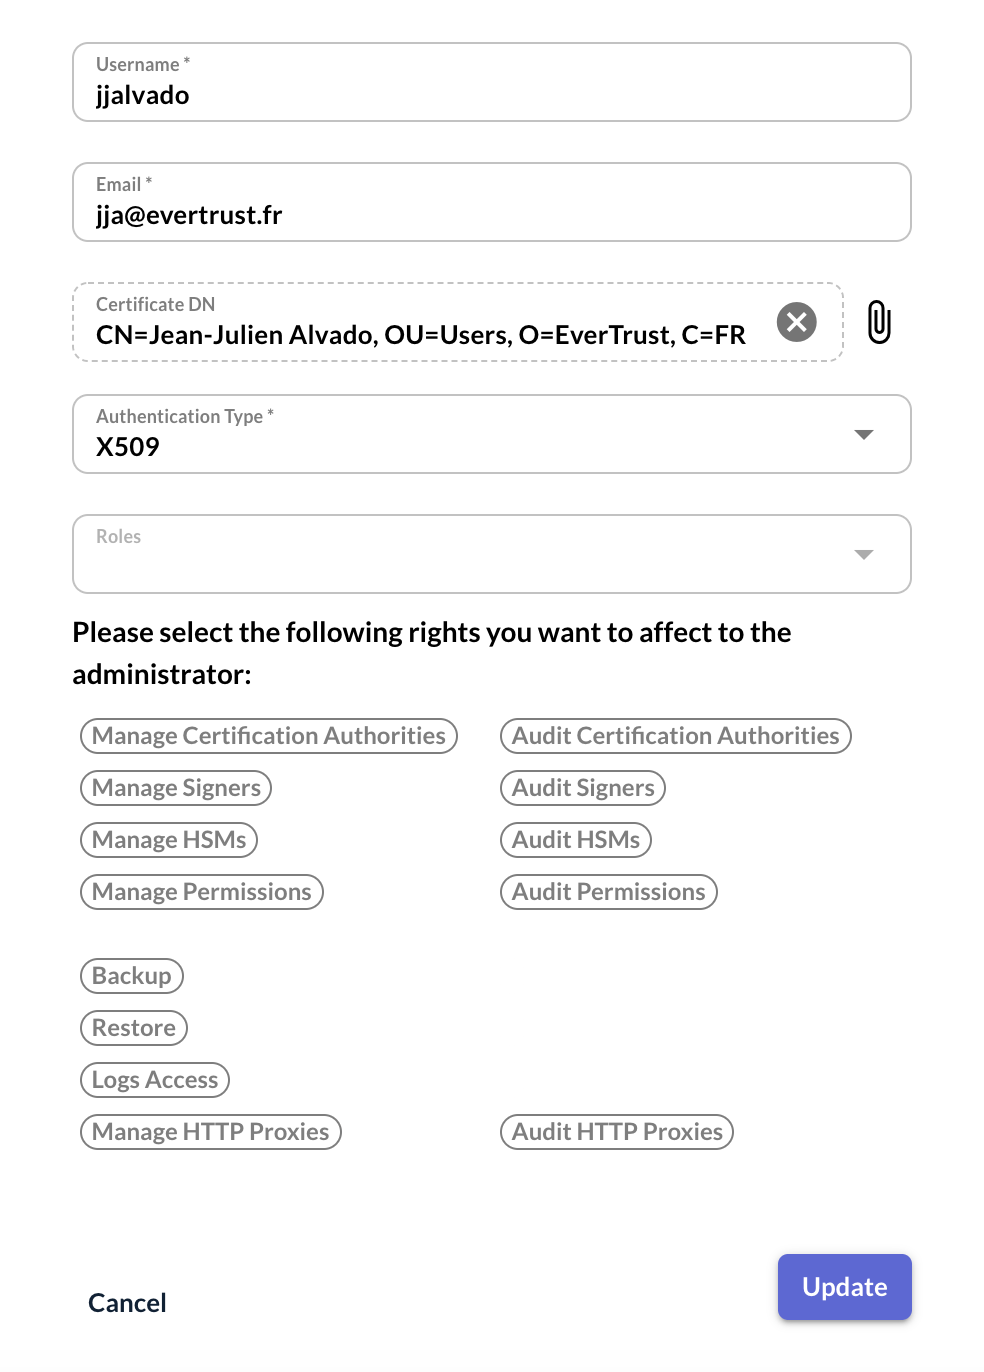
Step 6: The Administrator form is automatically populated with the following value:
-
'Username': Common Name of the provided certificate;
-
'Email': Extracted from the RFC822Name if defined in the certificate, empty otherwise;
-
'Certificate DN': Distinguished Name of the provided certificate.
Specify the roles and permissions attributes (if required) and hit the 'Add' button:
Step 6: The Administrator is successfully created: